Thursday, June 14, 2012

Liberty Pennant Banner

If you liked my Stars and Stripes Wreaths, you will probably like this project too, it is filled with lots of patriotic colors and burlap goodness. Normally I do paper banners but I have decided to start doing fabric banners because they will be able to last year to year.


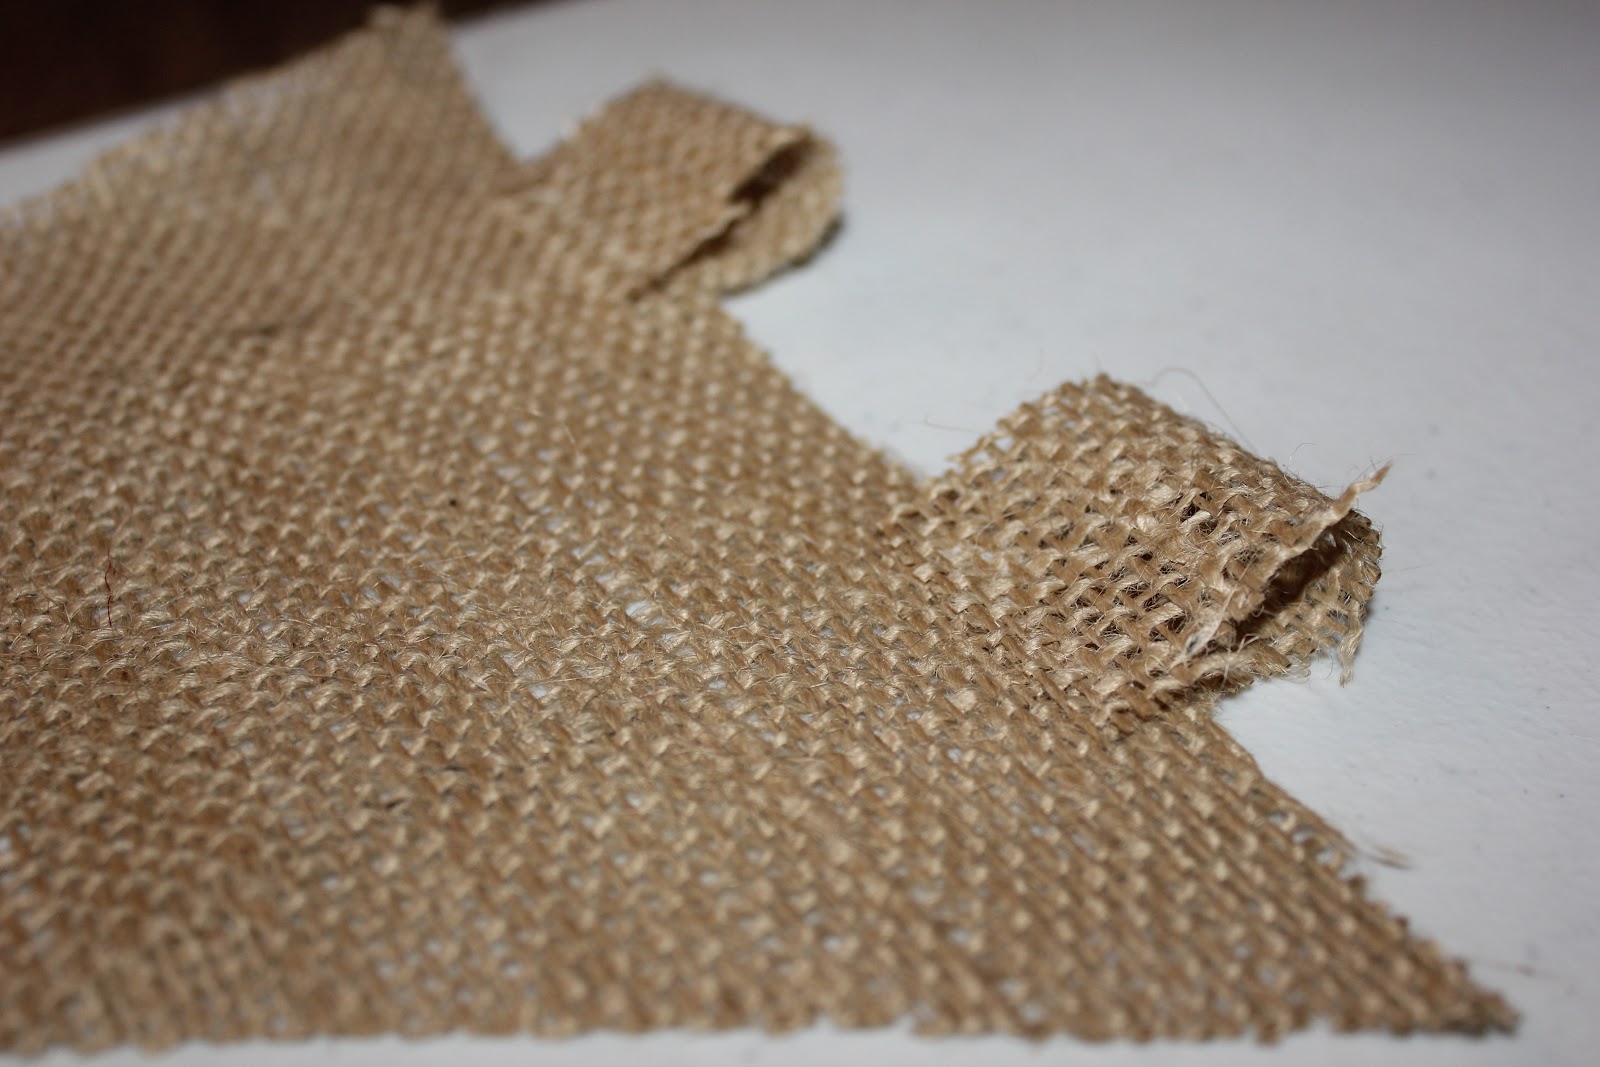
I made the pattern for the pennant banner with my Silhouette and traced it onto my fabric and then cut it out.
 Add a small amount of glue to the top of the tab.
 And fold it over.
 I forgot to get a picture of the cutting out the letters step but I used my Silhouette to cut the letters out but you can also just trace letters onto fabric and use Heat and Bond.
I then ironed the letters on.

Then I strung the ribbon through the loops and then all you have to do is hang it up.

It's hard to tell but that is actually blue jean material, not black like it looks in the picture.

Happy Flag Day everyone! I will be sharing how I decorated the rest of my built in cabinets for this patriotic season soon.


The fabulous parties I am linking up to: Lil Luna Organize and Decorate Everything Crystal and Co. House of Hepworths Delightful Order Gluesticks Tatertots and Jello Be Different Act Normal I Heart Naptime Tip Junkie A Bowl Full of Lemons Let Birds Fly Somewhat Simple Fingerprints on the Fridge Tidy Mom 320 Sycamore Oopsey Daisy Six Sisters Stuff Lolly Jane The NY Melrose Family Creatively Living Cowgirl Up
Pin It

Monday, June 4, 2012

Stars and Stripes Wreath Tutorial


Since I have two doors, I wanted to do something different and not make two of the exact same wreath. So I decided on doing one wreath in the stars part of the flag and one on the stripes.

Supplies you will need:
2 straw wreaths (I used 18 in wreaths because my doors are big)
2.5 yards of  navy burlap ( I couldn't find this in any store, I bought it online here)
1.25 yards of red burlap
1.25 yards of off white burlap(the color I got was called "oyster")
Sharpie
Circle Pattern (I used a coffee mug to trace the circles)
Scissors
Ball Point Pins
Paper Mache Stars (I used 6)
White Paint (spray paint or acrylic)
Distress Ink (optional)
Floral Wire
Vacuum (you will see why later)

Step 1: Trace your circles on the red, white, and blue burlap and cut them out. Or if you are like me you will trace, some, cut some, pin some, and repeat. Put on a good movie or tv show because this is very time consuming.

TIP: How much fabric it will take you will depend on how big your wreath is and how tightly you place them on your wreath.

Step 2: Once you have all the circles cut out, you will fold the circle in half, then in half again.


TIP: Using a straw wreath instead of a styrafoam wreath will save you money. I bought two 18 inch straw wreaths for 8 dollars where I would have paid 8 dollars for one styrafoam wreath.

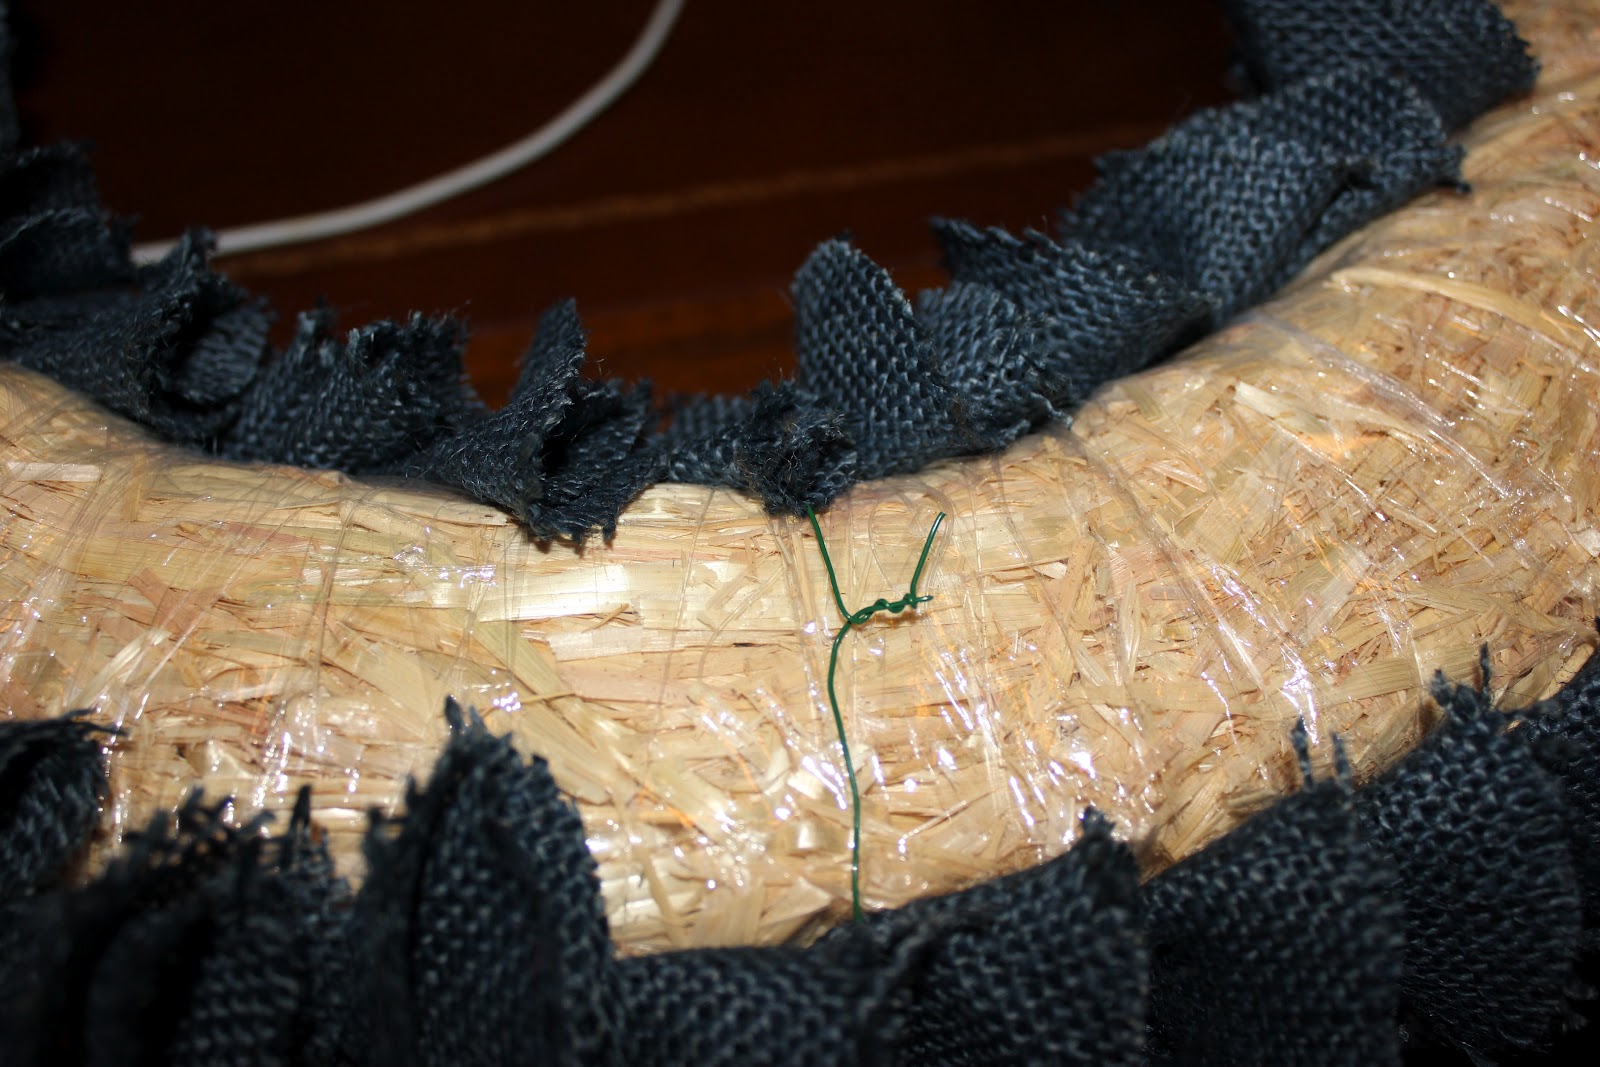
Step 3: Pin it to your wreath.

I alternated between three rows of red and three rows of white.

TIP: Make sure you use ball point pins.

These dressmaker pins will go through the holes in the burlap making it fall apart easier. I speak from experience, I used them on the red and white striped wreath and several pieces have come off.

I didn't take a picture of the navy wreath but you make it the same way. It is easier though because it is all one color.

Step 4: Paint your stars white.
I got mine at Hobby Lobby near the wood section for 50 cents.


Step 5: This is completely optional but I wanted more of a distressed look so I added some distress ink on the edges.


Step 6: Cut the strings off the top and poke two holes about one inch apart in the back (making sure not to poke through the front) and string a 12 inch piece of floral wire in one hole and out the other.


Step 7: Place the star where you want it on your wreath and flip the wreath over to the back and twist the wire like you would a twist tie. The wire will be hidden in the front between the fabric.


TIP: I put a piece of tape over each piece of wire in the back so it won't scratch my door.


Step 8: Vacuum up your mess and trust me burlap sheds and make one hot mess. I had already vacuumed once in the middle of the process.

Step 9: Hang your wreath and admire its beauty.

I plan on leaving these babies up all summer long. Since all the holidays in the summer are patriotic I think it is acceptable...Memorial Day, Flag Day, Fourth of July, Labor Day, and September 11th.

If you have any questions or want me to explain something better, please leave me a comment or email me at lifewithbothhandsfull@hotmail.com and I will get back to you ASAP.


The fabulous parties I am linking up to: Lil Luna Organize and Decorate Everything Crystal and Co. House of Hepworths Delightful Order Gluesticks Tatertots and Jello Be Different Act Normal I Heart Naptime Tip Junkie A Bowl Full of Lemons Let Birds Fly Somewhat Simple Fingerprints on the Fridge Tidy Mom 320 Sycamore Oopsey Daisy Six Sisters Stuff Lolly Jane The NY Melrose Family Creatively Living Cowgirl Up
Pin It

Tuesday, May 22, 2012

Crazy or Best Idea Ever?

I go back and forth on whether I think my husband is completely nuts or this is the best idea ever. He caught me on a weak day(aka: kids have been into everything today) so I have agreed to go through with it. Go through with what you ask? Switching the playroom from its current home downstairs to upstairs. This is something he wanted from the day we moved here, but it made more sense at the time to have the kids playing downstairs in what is suppose to be a office but I turned into a playroom. Well now that they just take all the toys and bring them into the living room anyways, it might as well be a office.
If you are new you can find more about their playroom here:

Here is a room I never really got around to showing you, it is our bonus room which was "used" ( I say that very lightly because it never got used) as a theater room. It is an L- shaped room, so it is hard to get a good picture of the whole room. This will be the future playroom.
The office nook is to the right when you walk through the door. The desk is built in to the wall. See that window? That is the only window for the whole room. We need to put some daylight lightbulbs in ASAP.
 Looking from the office nook, you can see the TV.
 And around the corner is the theater chairs. 

Pretty much everything that is in this room would stay except the TV will be hung on the wall and the entertainment center will go bye bye because it is glass and it will be a playroom...need I say more?

Pros:
- When people come over they won't walk in and think they are at a toy store. The downstairs will stay for the most part clean.

- Their toys will be confined to one room.
- They will have a bigger playroom.
- I will be able to work from my craft room and office more because it is upstairs next to the bonus room.
-My husband gets a office and we have a place to pay bills, store mail, and file papers. We will also have a place for all his model cars, ships, trophies, and awards. 
Interesting fact: Did you know my husband made a platinum record? Not really.... it sounded good though, but he was MVP of his company. 

Cons:
- We will have to go downstairs to eat and cook. 
- Carpet + Kids= BAD.
- I will have to do laundry during naps and bedtime.
- We will probably have to paint the playroom because of the holes we drilled for the rain gutter bookshelves. If you know me, you know me you know the only kind of painting I like to do is spray painting.
- And the obvious: Taking apart the whole room that I worked so hard to put together and moving it upstairs.

So whatcha think? Crazy idea or best idea ever?
Do you have your children's playroom on different level than your kitchen and laundry room? What do you like? What do you hate?


Friday, May 18, 2012

Tips for First Time Moms

Hi, I'm Katie Moore- owner and author of "Moore From Katie." Today, Krista has graciously accepted my offer to guest post on her site! I have written an article about pregnancy because May is Pregnancy Awareness Month (neither Krista or myself is pregnant!!!). I enjoy writing, researching and blogging about all things pregnancy... enjoy the article!


Tips for First Time Moms

Having a baby for the first time is a big event in any woman’s life. This is especially the case if she has been trying to have a baby for some time. In the excitement of the moment, it can be easy to forget all the little things, great and small, she must do to get prepared for her little one’s arrival. However, if she takes an organized approach, she can make the whole process go much more smoothly.

Preparations for the Delivery
One of the things new moms need to prepare for is the delivery itself. She should choose the location where she wants to have her baby. If she will be having her baby at home, an expectant mother might want to hire the services of a professional midwife. One the other hand, if she will be having her baby in a hospital, she will need to decide which one.

Regardless of where she chooses to have her baby, she should find a qualified obstetrician to help her maintain her health and her baby’s over the coming months. She should discuss with her doctor all of the things that will take place on delivery day, and any options she might have planned, such as circumcision (for a son) or umbilical cord blood banking.

Things She Will Need
Part of preparing means purchasing things the baby will need. She should make a complete list of all the clothing items the baby will require, such as shirts, booties and so on. She can then check out the prices of local stores for these items. However, she should not forget to ask friends or relatives if they have any of these things they don’t want anymore.

The new baby will also need furniture, such as a crib and a changing table. The new mother may also want a rocking chair she can sit next to the crib. As with clothing, she should check to see if anyone she knows has these things. However, she should only use a crib that meets current federal safety standards, regardless of price.

What to Expect Later
Many new moms underestimate the time and effort required to take care of a newborn. It is a good idea for any first time expectant mother to read books on the subject and talk to other experienced mothers about what she can expect. Sleepless nights, feedings, teething problems and more all make the first year or so very challenging. However, by studying and being as prepared as possible, new mother’s can spend less time worrying and more time enjoying their new babies.


“Katie Moore has written and submitted this article. Katie is an active blogger who discusses the topics of, motherhood, children, fitness, health and all other things Mommy. She enjoys writing, blogging, and meeting new people! To connect with Katie contact her via her blog, Moore From Katie or her twitter, @moorekm26.”

Thursday, May 17, 2012

Organizing Spices Part 2

Two months ago I wrote this post about organizing spices and promised you a second post on how I organized the rest of the stuff in my cabinets. Well after having some trouble finding the right size lazy susan. I finally am finished with the project.


 Here is the problems with how it was before and what I did to fix it:

Bottom Shelf: Had a lot of wasted space at the top so it needed to come down a notch.

The wire three tiered shelf needed to go because it was still hard to see what was in the back and the bottles would get knocked over easy. So I added two 9 inch Lazy Susans, one for grilling spices and one for the rest of the misc stuff.

Middle Shelf: The problem was I couldn't see anything and when I would try and get something I would knock something else over (hello olive oil and broken glass all over my floors).
I also added two lazy susans on this shelf. One for oils and one for sauces.

This way I will be able to see what I actually have because while cleaning off this shelf I found out that I had four bottles of Worcestershire sauce....ridiculous.

Top Shelf: The problem was I couldn't reach but by moving the bottom shelves down, I was able to move the top shelf down too.


Tip: Use small lazy susans so that you won't have stuff in the middle that you can't see because that will defeat the purpose.

The rest of my spices are stored on this spice rack I redid.


The fabulous parties I am linking up to: Lil Luna Organize and Decorate Everything Crystal and Co. House of Hepworths Delightful Order Gluesticks Tatertots and Jello Be Different Act Normal I Heart Naptime Tip Junkie A Bowl Full of Lemons Let Birds Fly Somewhat Simple Fingerprints on the Fridge Tidy Mom 320 Sycamore Six Sister's Stuff Lolly Jane The NY Melrose Family Creatively Living Cowgirl Up
Pin It

Sunday, May 13, 2012

This Is My Life- Mother's Day 2012

When it came time to take the traditional mom and kids mother's day shot, it was anything but posed. When I looked at the pictures this evening, preparing to delete 90% of them, I couldn't help but laugh as I scrolled through them because it captures this season of motherhood perfectly. They are completely crazy, a hand full, they pull me opposite directions most of the time but I LOVE being their Momma.


Happy Mother's Day!

Wednesday, May 2, 2012

Mother's Day Card

I made these cards last year for all the moms and grandmas.
 In case you can't read it, it say "These little hands will hold your heart forever"
I traced the boy's hands but the rest was cut with my silhouette.
The fabulous parties I am linking up to: Lil Luna Organize and Decorate Everything Crystal and Co. House of Hepworths Delightful Order Gluesticks Tatertots and Jello Be Different Act Normal I Heart Naptime Tip Junkie A Bowl Full of Lemons Let Birds Fly Somewhat Simple Fingerprints on the Fridge Tidy Mom 320 Sycamore Six Sister's Stuff Lolly Jane The NY Melrose Family Creatively Living Cowgirl Up
Pin It